right bit of an update but not a good 1  was out in the car a few months back for a nice drive and things did not go well, all of a sudden after a hard blast I go a full on smoke screen out the exhaust and I mean full on, so pulled over to see what had gone wrong, found some oil in the engine bay that seem to be coming out the gasket on the turbo to down pipe was out in the car a few months back for a nice drive and things did not go well, all of a sudden after a hard blast I go a full on smoke screen out the exhaust and I mean full on, so pulled over to see what had gone wrong, found some oil in the engine bay that seem to be coming out the gasket on the turbo to down pipe  so checked the oil level and found the oil was on the very bottom tip of the dip stick not good, so then had a look in the back box and found all my nice clean oil in it, thought that's it engine has gone, so got the car trailer home Big thanks to Wolfy for that :thumbsup: so on Saturday started to strip the turbo off to have a look to see what had gone wrong, took the intake pipe off to see some oil in the intake turn it over to drain it out and a Nut fell out of it :dunno: *bleep* I thought then saw what Nut it was, its the only part of the build iv not made or built my self and it brakes so checked the oil level and found the oil was on the very bottom tip of the dip stick not good, so then had a look in the back box and found all my nice clean oil in it, thought that's it engine has gone, so got the car trailer home Big thanks to Wolfy for that :thumbsup: so on Saturday started to strip the turbo off to have a look to see what had gone wrong, took the intake pipe off to see some oil in the intake turn it over to drain it out and a Nut fell out of it :dunno: *bleep* I thought then saw what Nut it was, its the only part of the build iv not made or built my self and it brakes

bloody turbo impeller Nut had come off  so then had a quick look at the impeller as was thinking the worsted, but found it was all still in 1 piece with no makes on it at all so then had a quick look at the impeller as was thinking the worsted, but found it was all still in 1 piece with no makes on it at all


so took the turbo off to have a better look, and found the rest of my oil


by the look of it I have been very lucky and the engine is all ok, just the turbo seal and bearings have gone,
so next I need to get the exhaust off and drain the oil out both the box's as they are full, and then I need to look at ether I have this rebuilt or just got all out and get a better turbo that will make the 400-450bhp but with a quick spool for competing,
so as im waiting to sort the turbo out, im now making my intercooler pipe work better by making it a full hard pipe set up, just done some mocking up today of how it will go, this is the cold side
as you can see at the moment I have the samco joints witch I want to get rid of


just need to weld it up now then onto the next part
bit more work done on the hard pipe set up, cold side nearly finished just 1 more pipe to weld in place


well found all the oil, this is what happens when your turbo oil seal goes big time

this just came out the exhaust pipe, I have 3 box's to take off and drain yet

url=http://s521.photobucket.com/user/gt4louis/media/gt4louis189/IMAG0501_zpsqjdm0ob1.jpg.html] [/url] [/url]

crank is out


Crank out and some signs of light scoring, so its of to the machine shop its goes
bit more pipe work for the Beast 4" intake pipe to the turbo that should help it get some air 


new crank and bearings all fitted


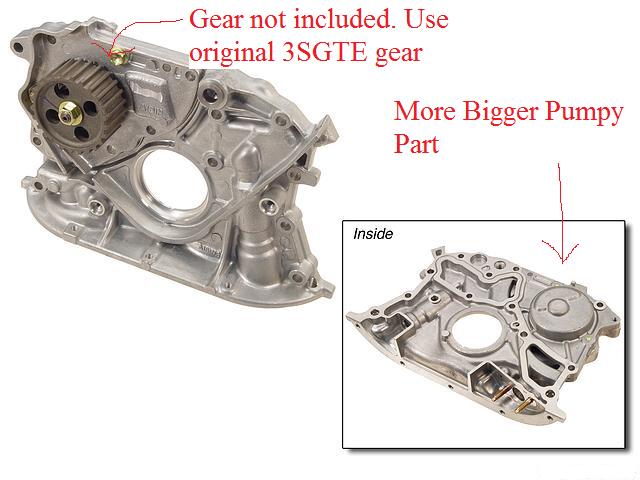
just waiting on new seal for oil pump and an crank now
cold side hard pipe is back after being powdercoated


pretty  just shim gaps to sort out next just shim gaps to sort out next

so while im waiting on a custom gear box I have been doing some fabrication work on Decat pipes with Flexi section in ,
so started with a Jig to make the decat up on

bottom parts of the Decat done

top half done

all ready for flexi

flexi fitted in all nice

the fun bit

all done

all cleaned and polished

the inside of the pipe


first test fit of the flexi decat


all good so far but it may need a tweak hear and there, till im happy
new clutch thanks to GT4-play https://www.facebook.com/pages/GT4-Play ... 77?fref=ts


just the gear box now and I can put it back together
|


 [/url]


